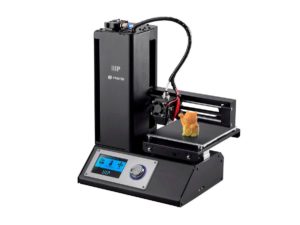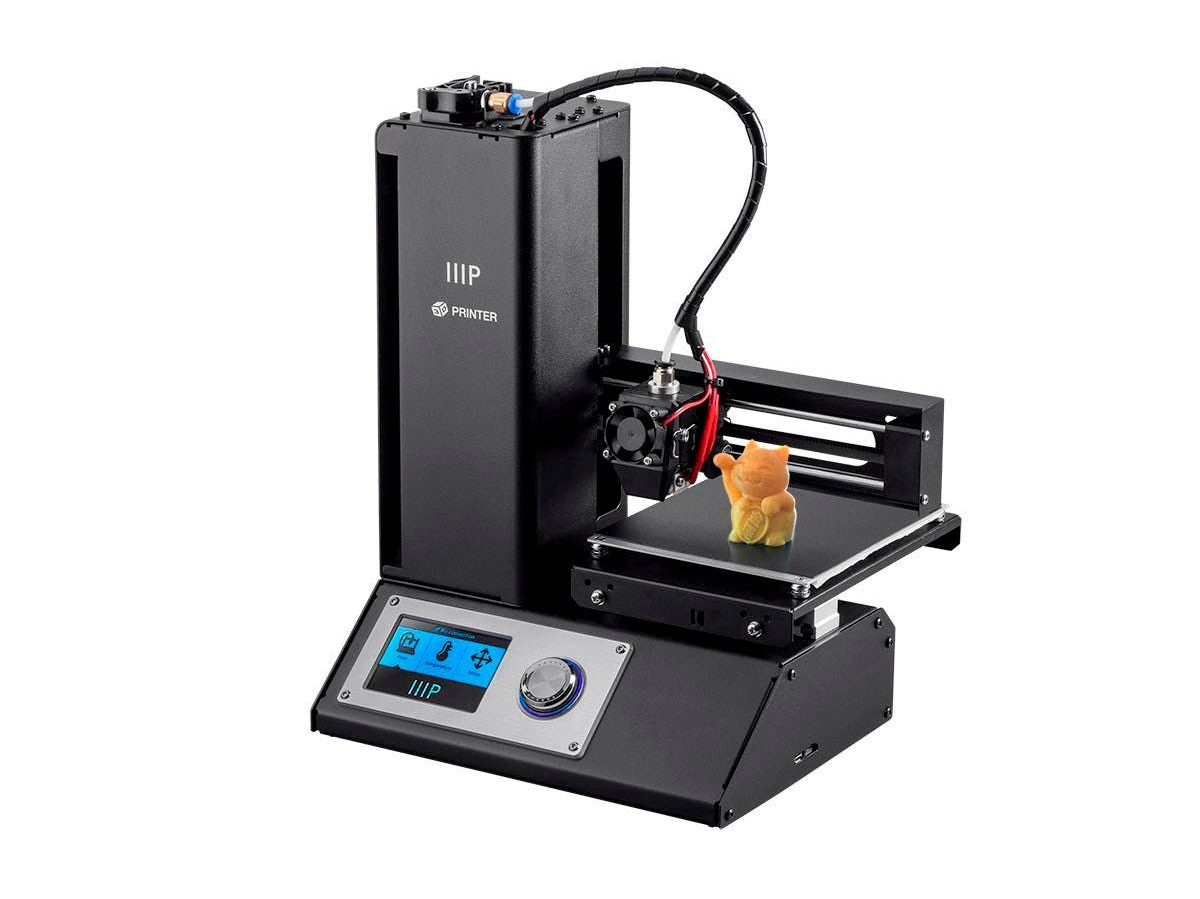
Looking to upgrade your Monoprice Mini IIIP printer? Here’s one modification that works wonderfully for me. Instead of using the default metal bed, I upgraded to a glass bed. Here are a few links for your convenience.
(If you’d like to help me out, I would receive a commission when items are purchased through the affiliate links above. Thanks!)
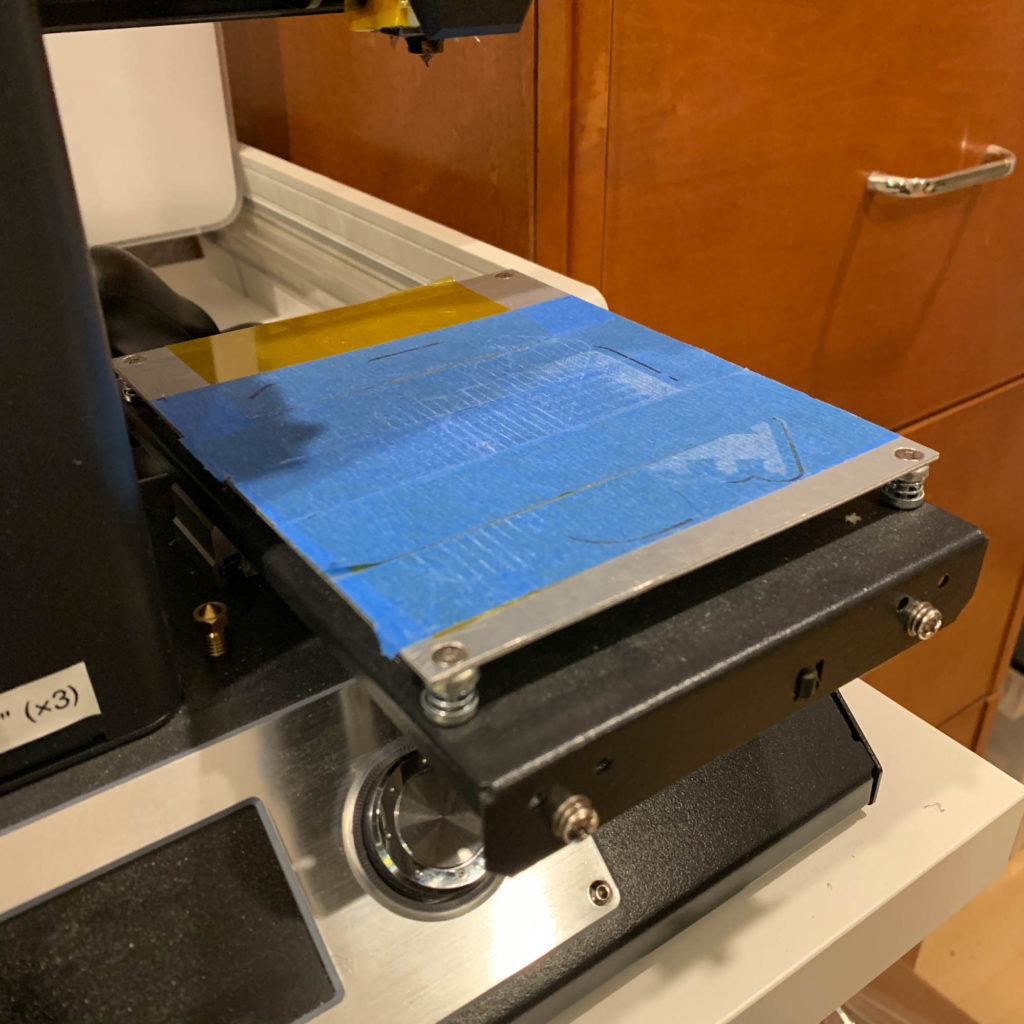
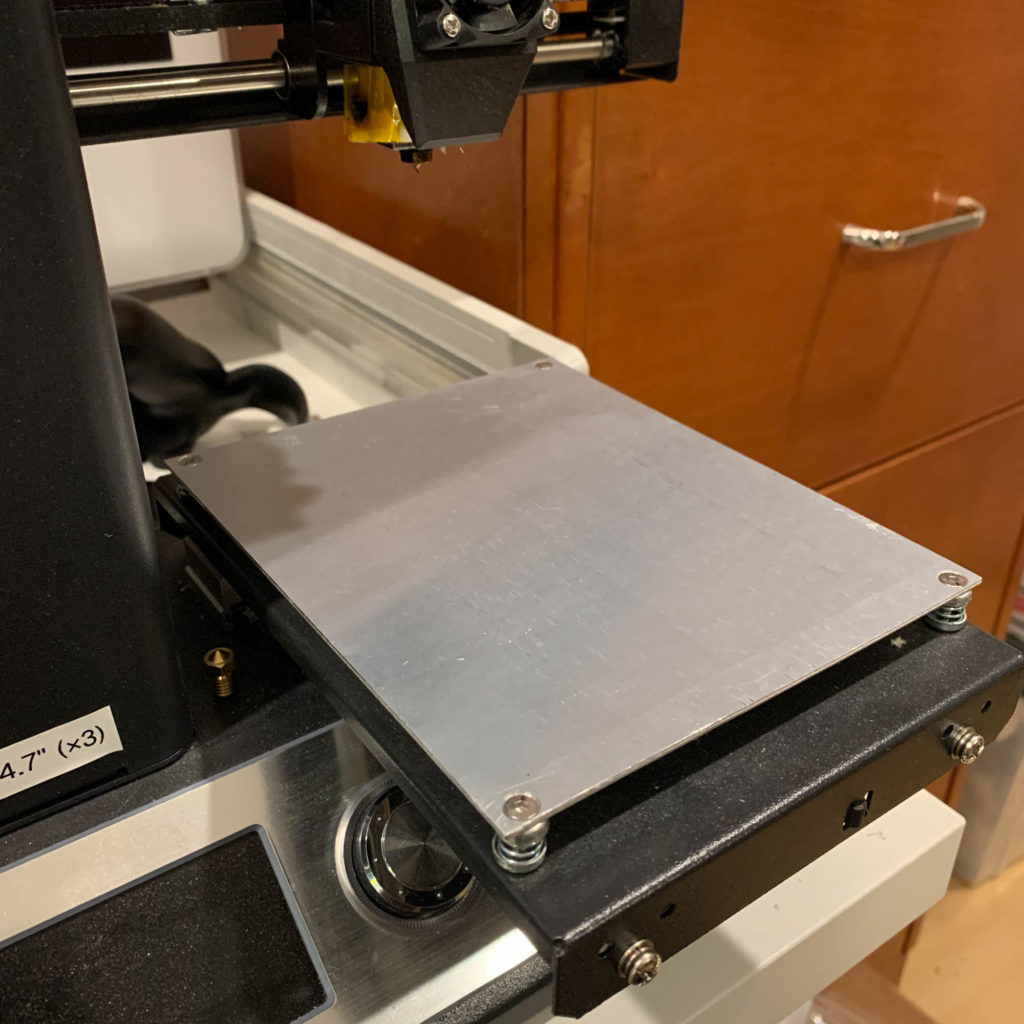
Before:
The printer comes with the metal bed plate. The problem with the metal plate is that it doesn’t stay flat. Even while adjusting the screws on the corners, the heating of the bed warps the thin metal sheet. Before making this upgrade, I was using kapton tape and blue painters tape on top.
Clean off printer bed:
After cleaning off the tape, I removed all of the screws, washers, and springs.
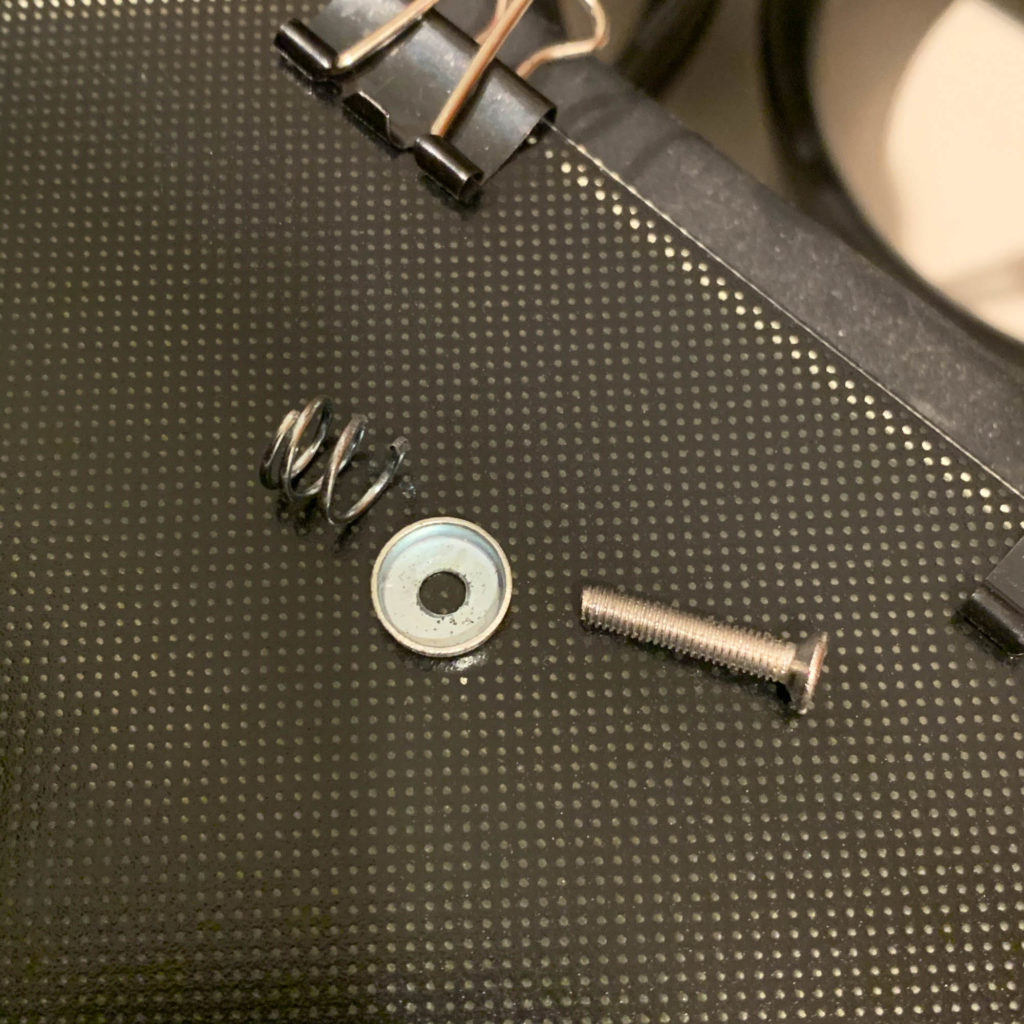
Modify Hardware:
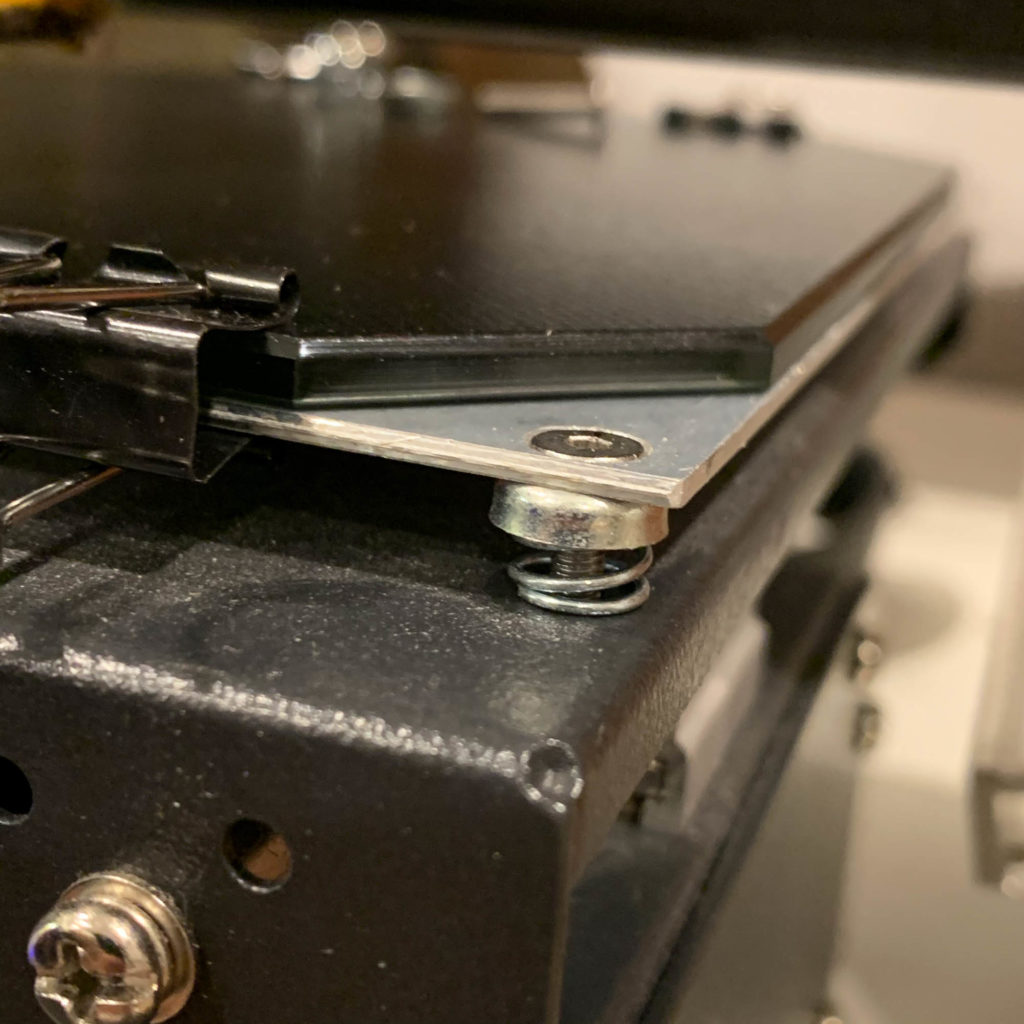
I used the same hardware that came with the printer however I cut the spring in half to accommodate the extra 4mm height of the glass build plate.
Keep in mind, you will need to remove one of the washers to drop the height and accommodate the glass plate.
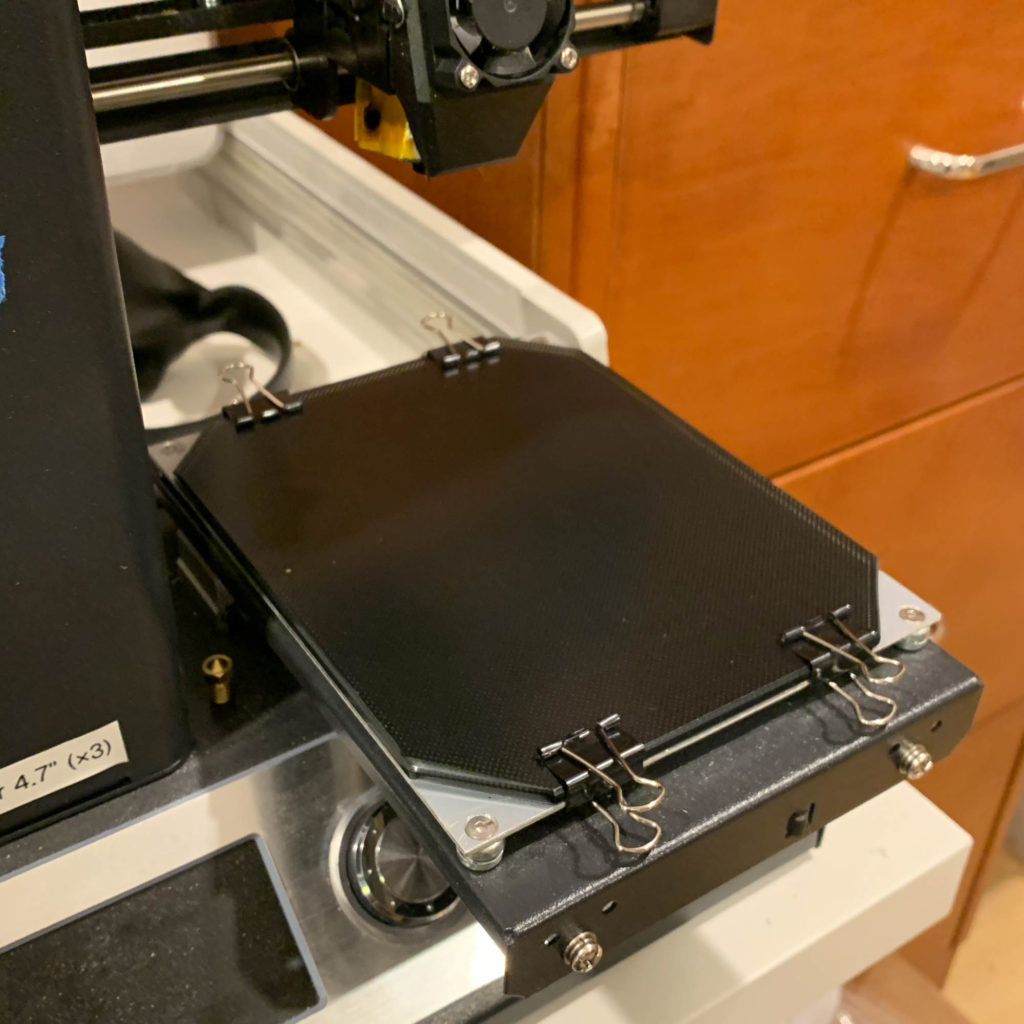
Install:
Install your hardware and screw down all the way.
This is the build plate I used. It has some texture to the glass. Currently, I see that it is out of stock, but as reference, here’s a link to the one I used.
Adjust bed height:
In addition, here’s another link to other glass plates but keep in mind, the one I used is 4mm thick which is the thickest you’ll probably want to use.
Double check everything:
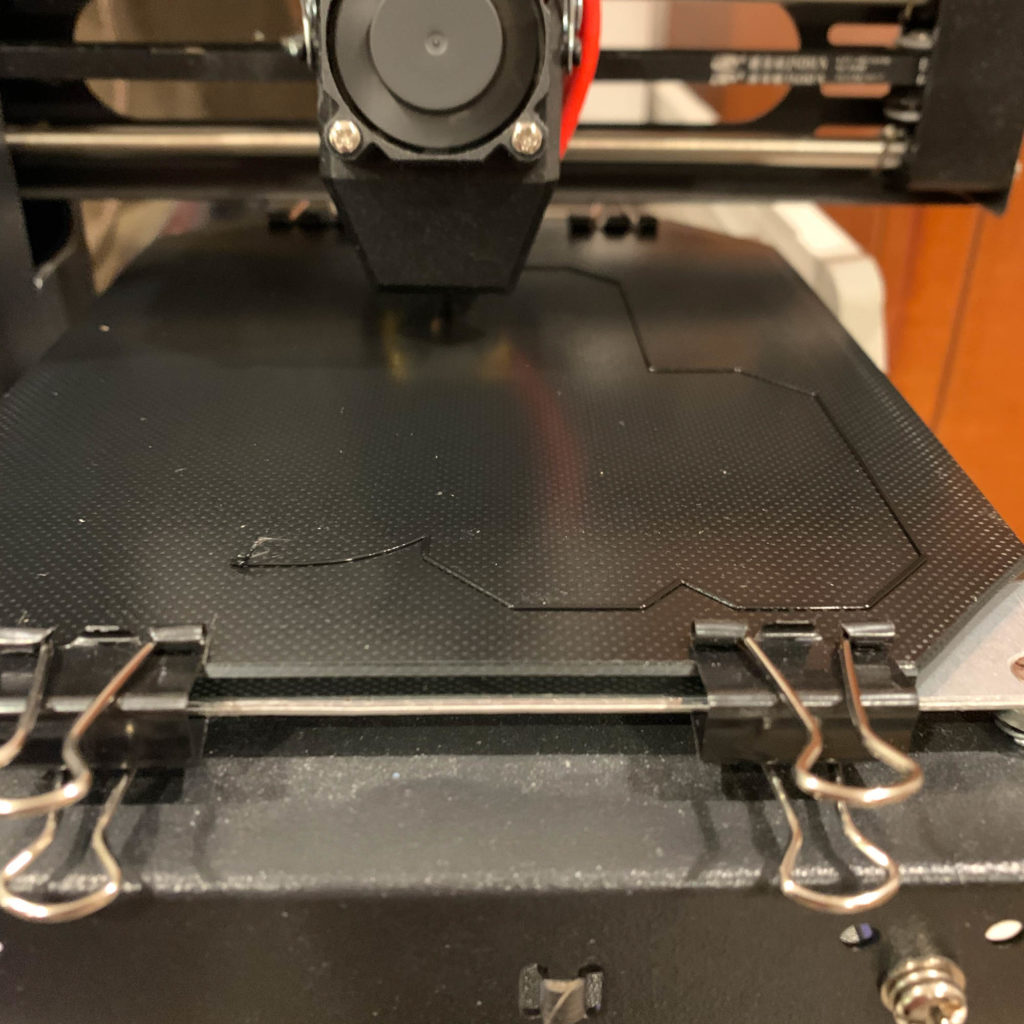
After installing everything, I levelled the bed, double checked to see that the nozzle wouldn’t hit the clips, and I ran my print.
Works wonderfully!!!
Feeling extra generous? Would you consider supporting me with a coffee?