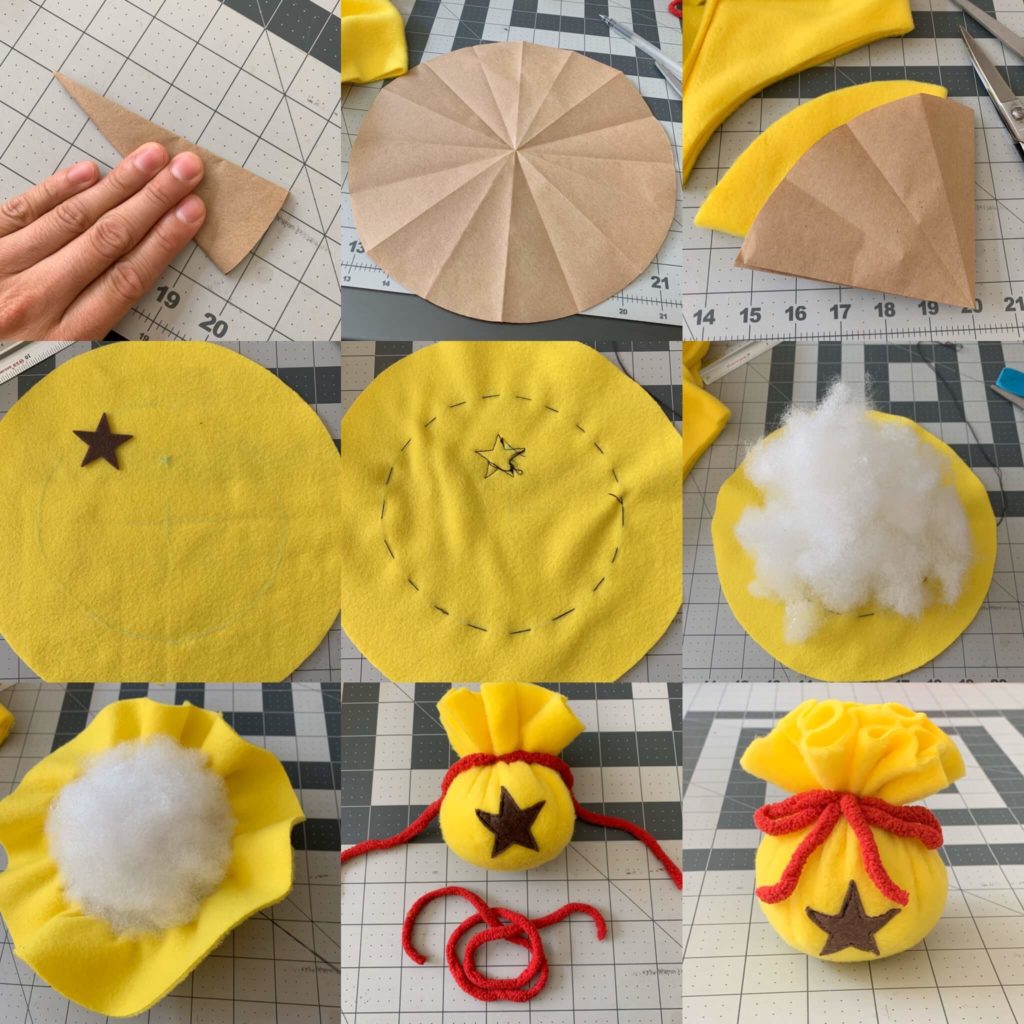
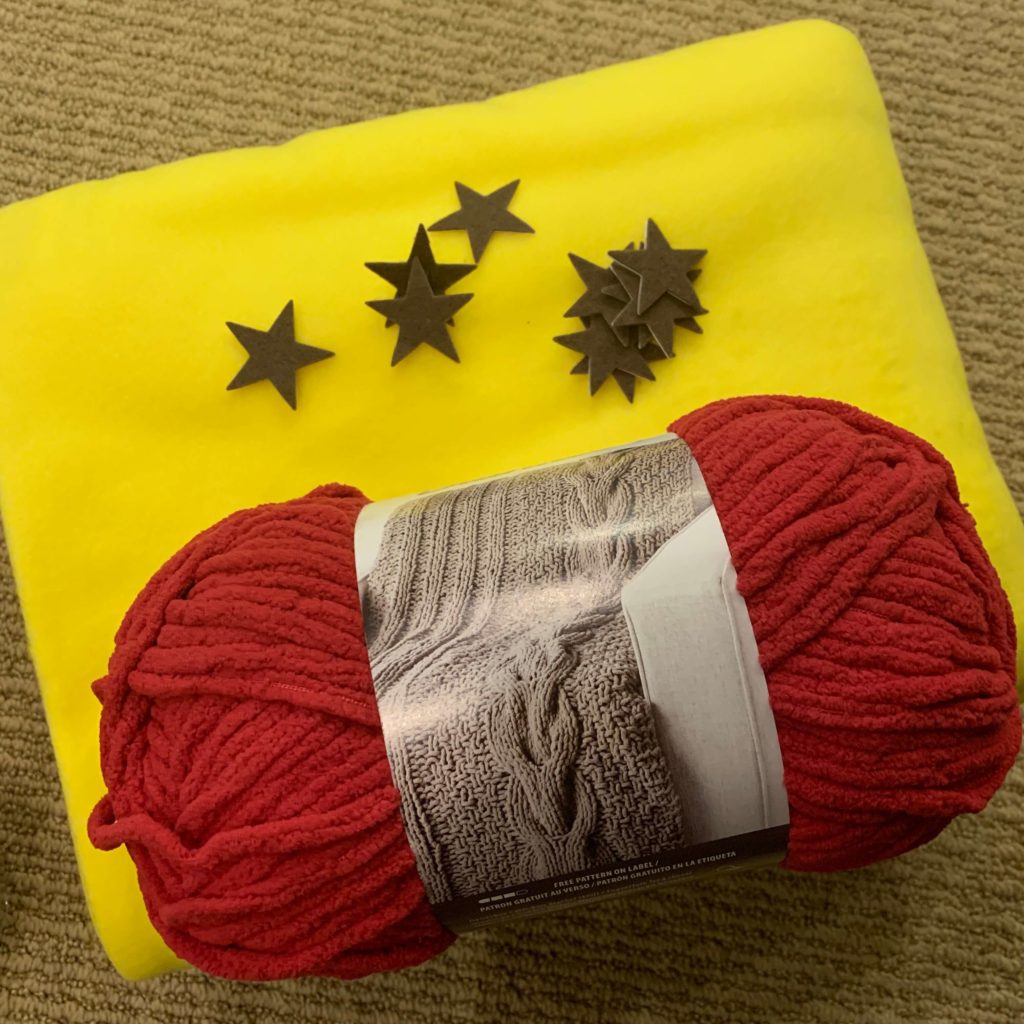
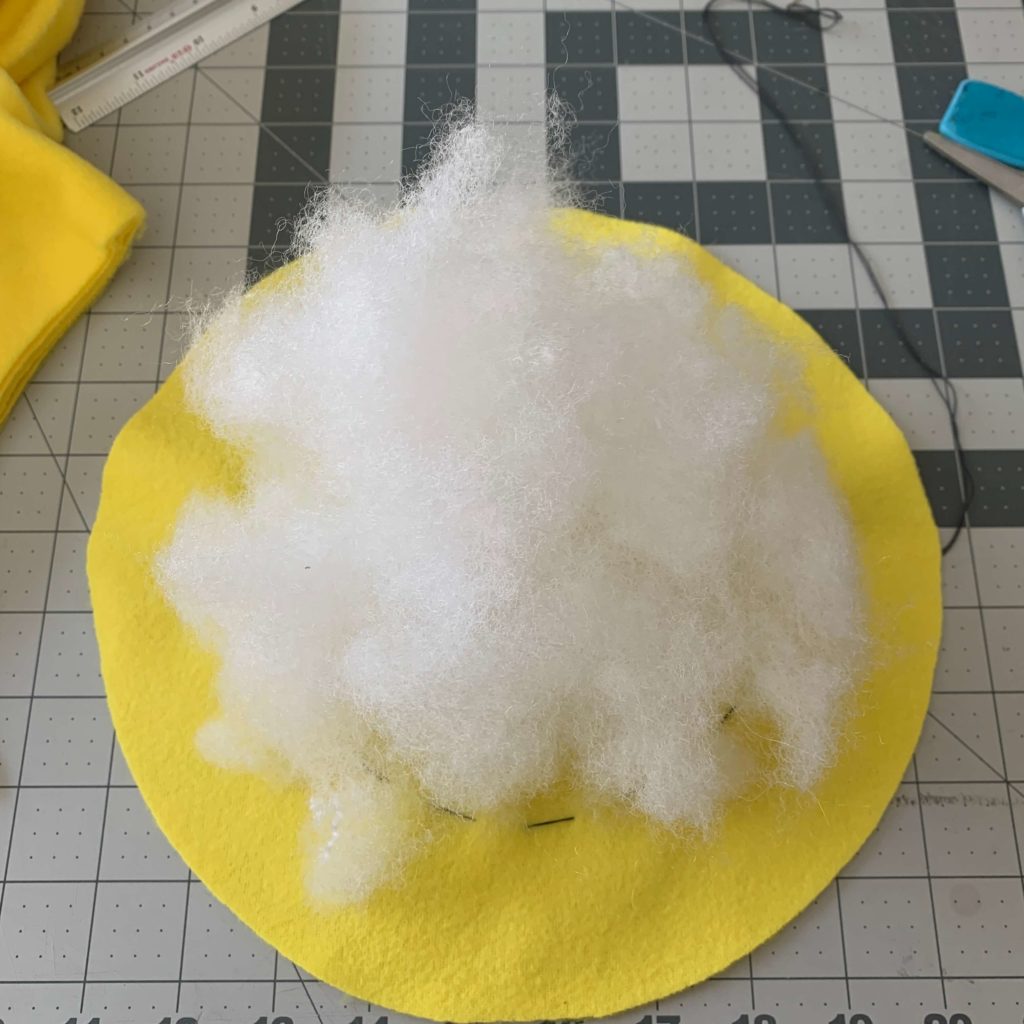
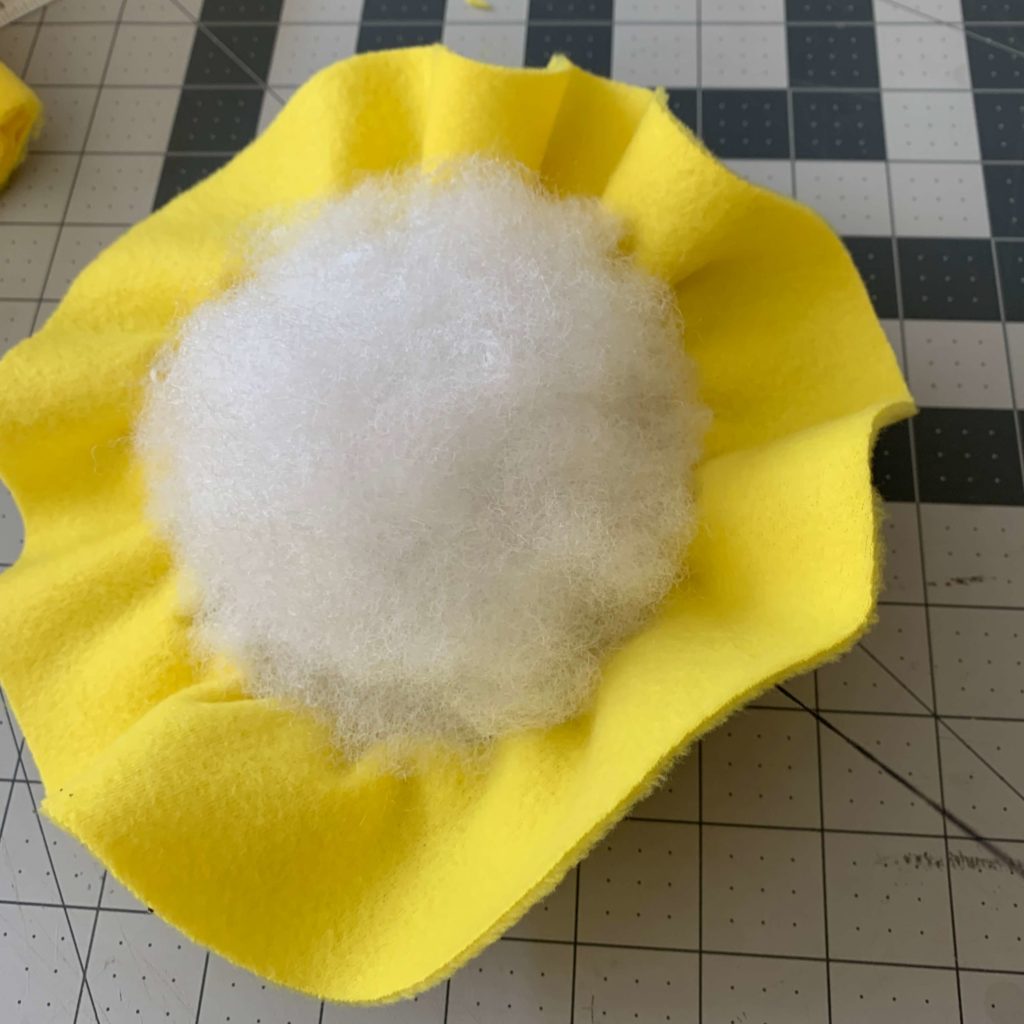
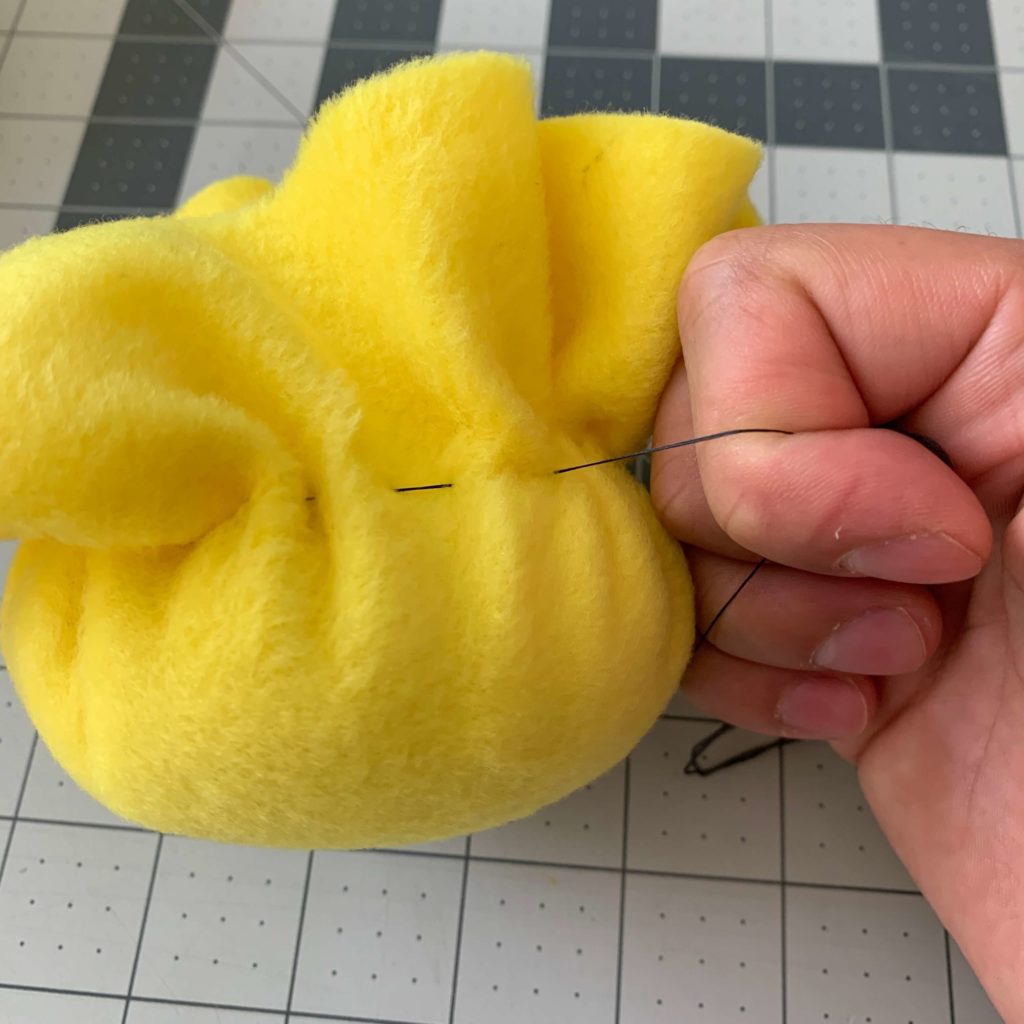
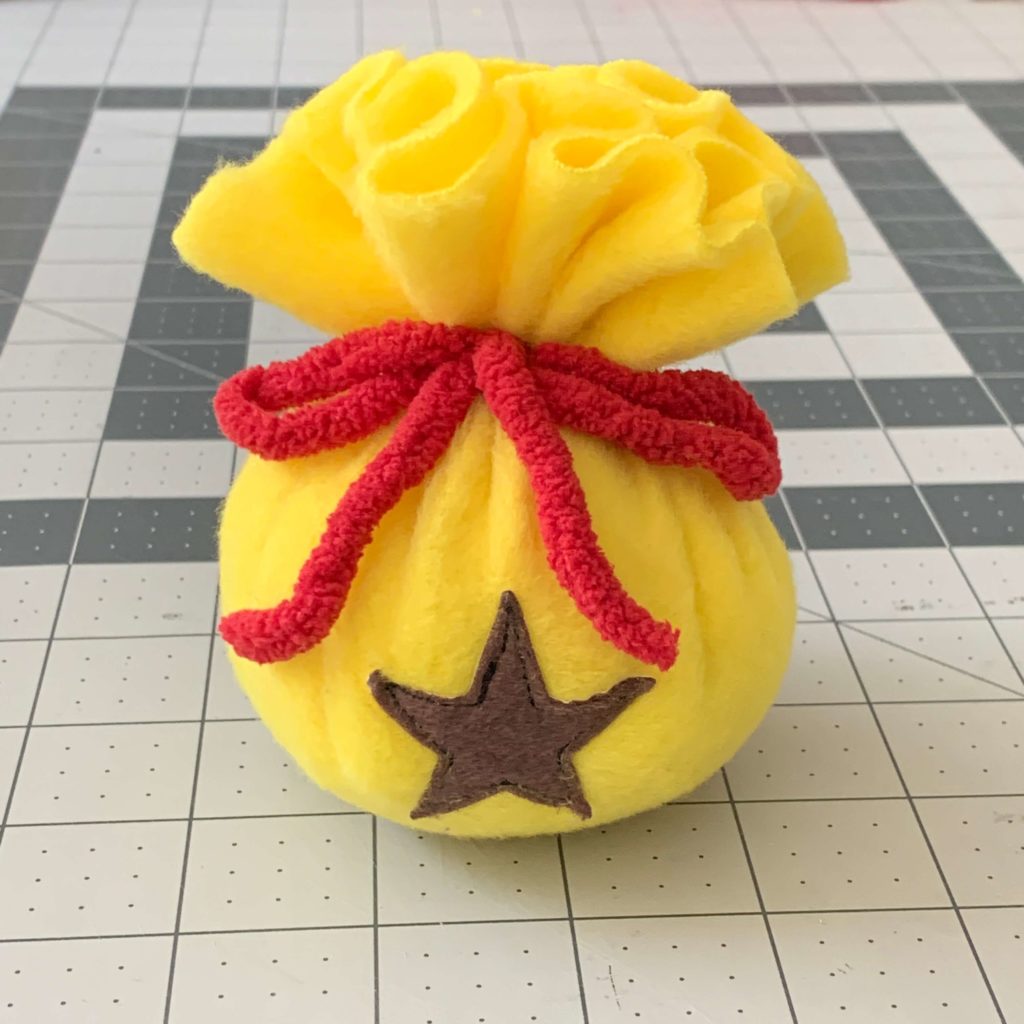
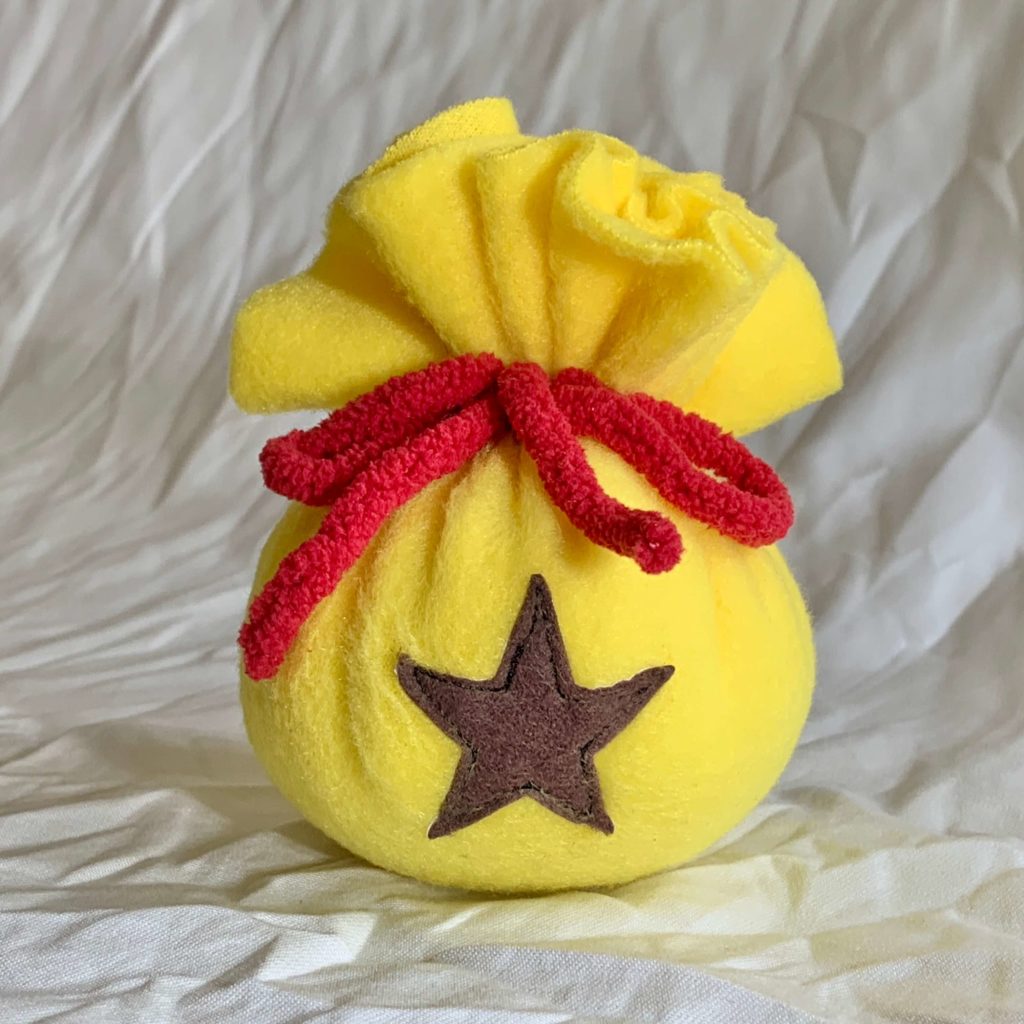
Here’s a fun project which you’ll need four main items to construct. The links I’ve provided below are the same materials I have used.
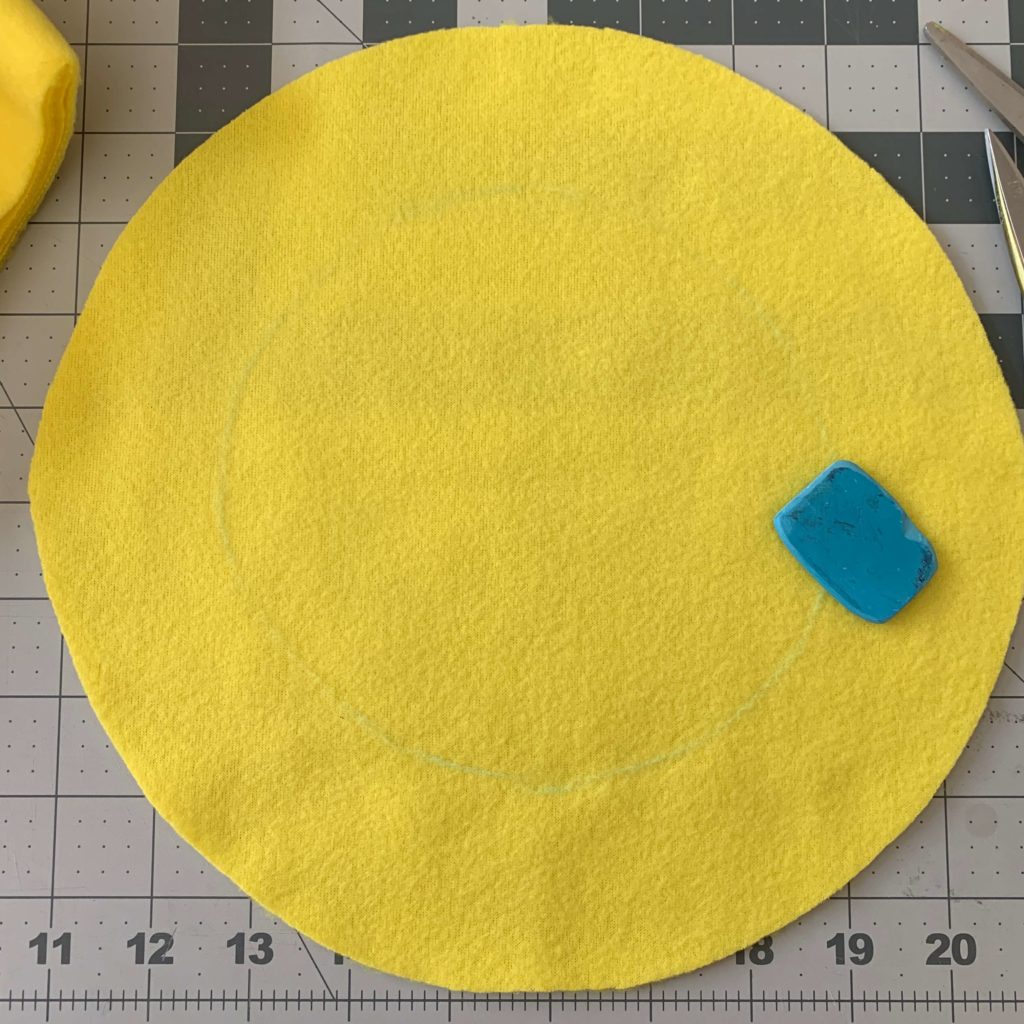
1.) Yellow fleece
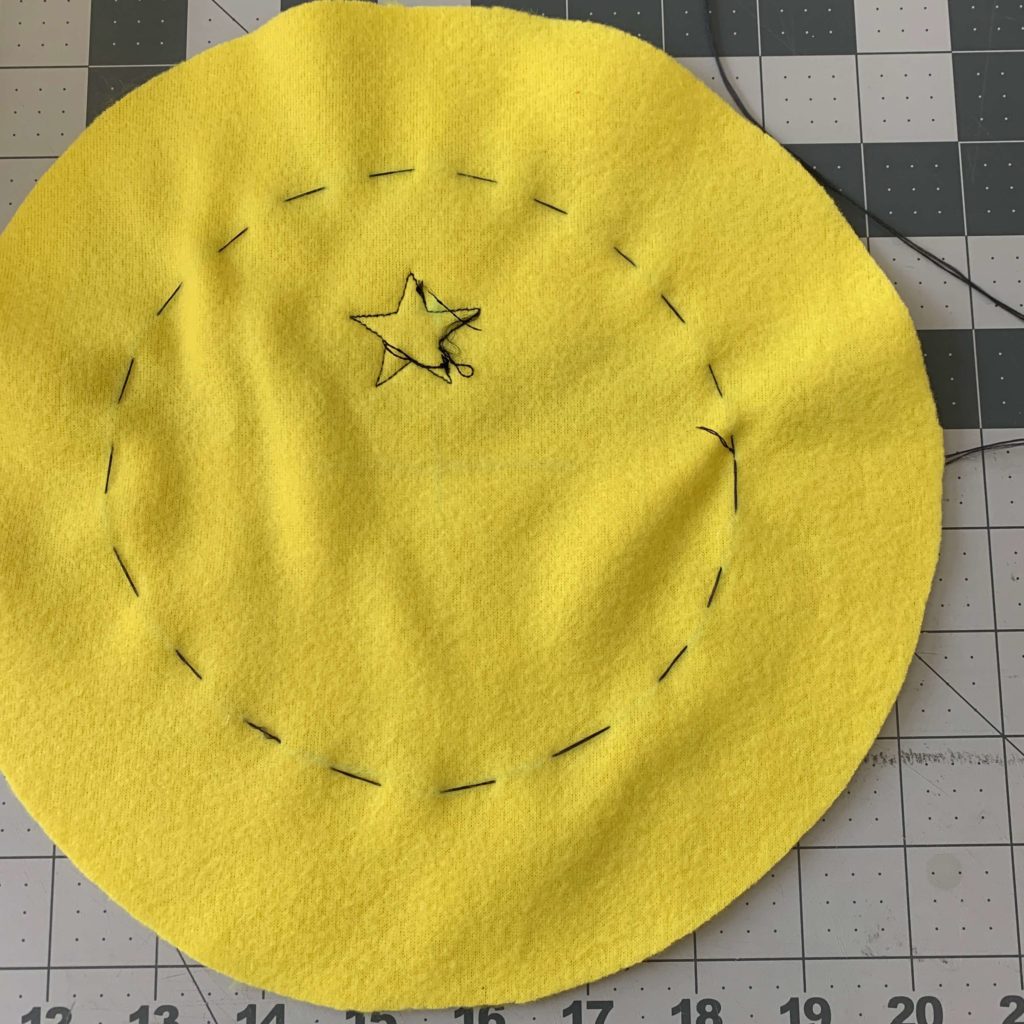
2.) Red Yarn
3.) Stuffing
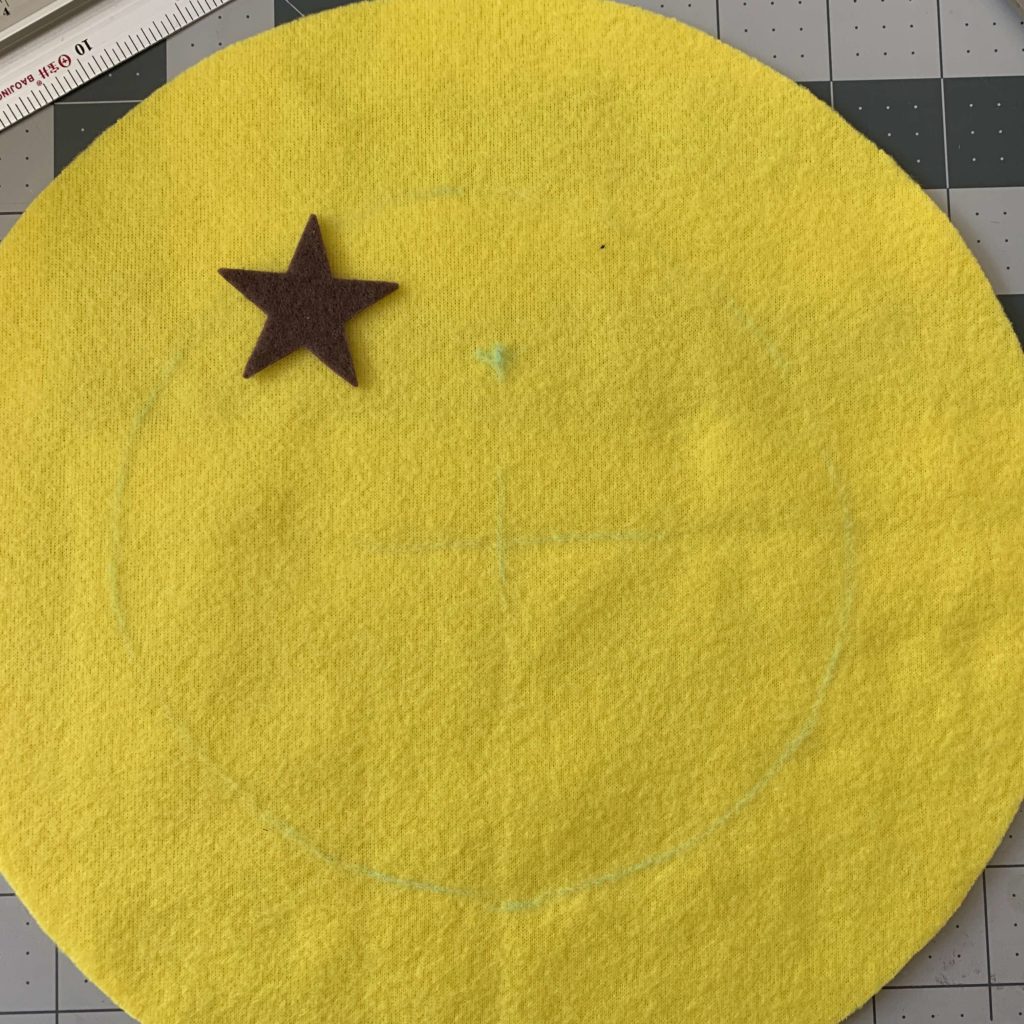
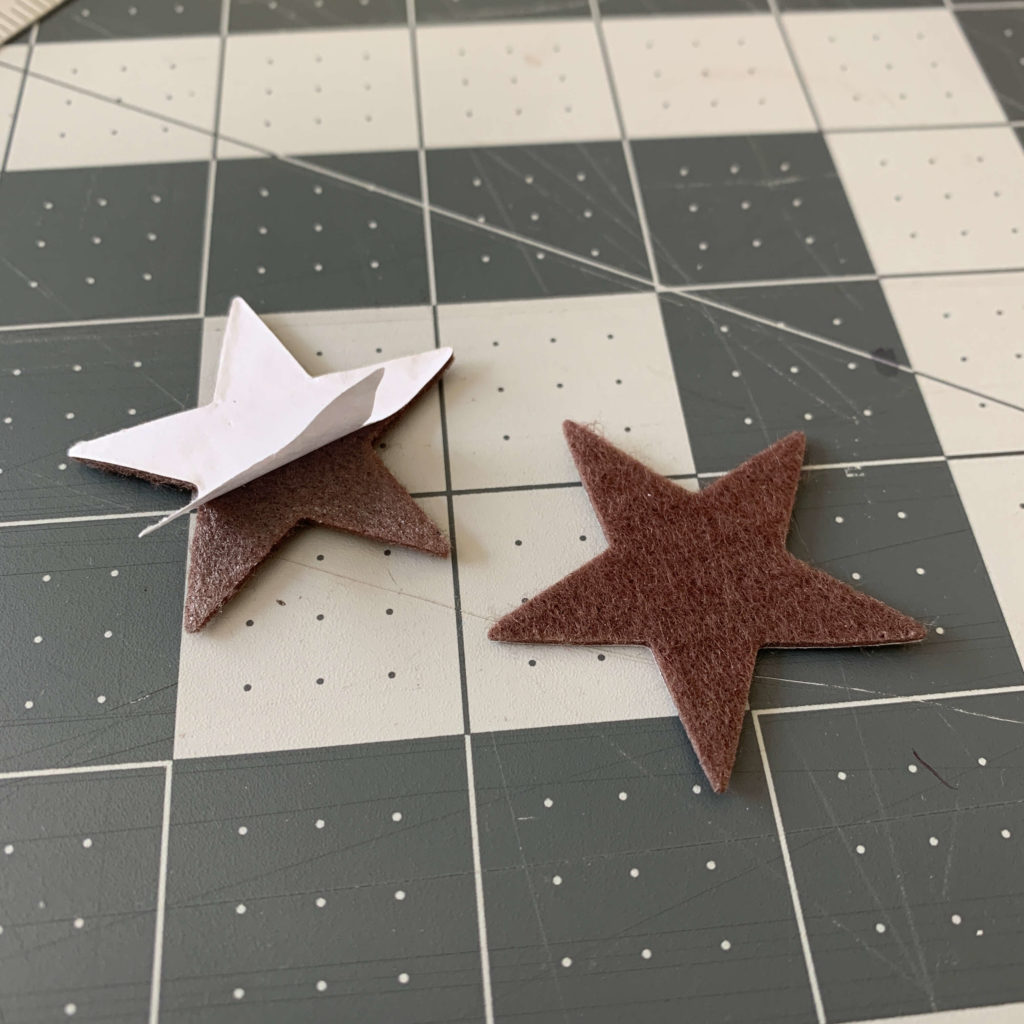
4.) Stars with adhesive or Stars without adhesive
Other helpful items: Basic sewing set
(If you’d like to help me out, I would receive a commission when items are purchased through the affiliate links above. Thanks!)

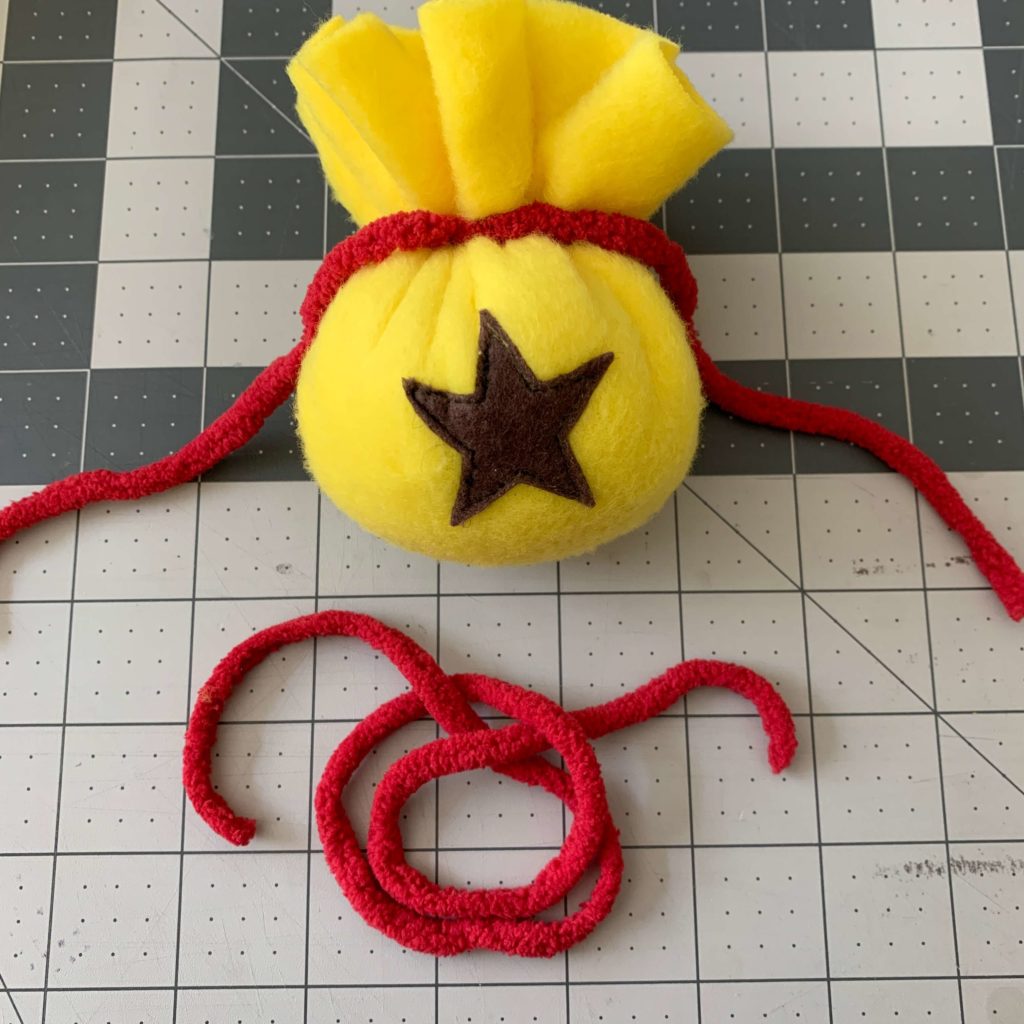
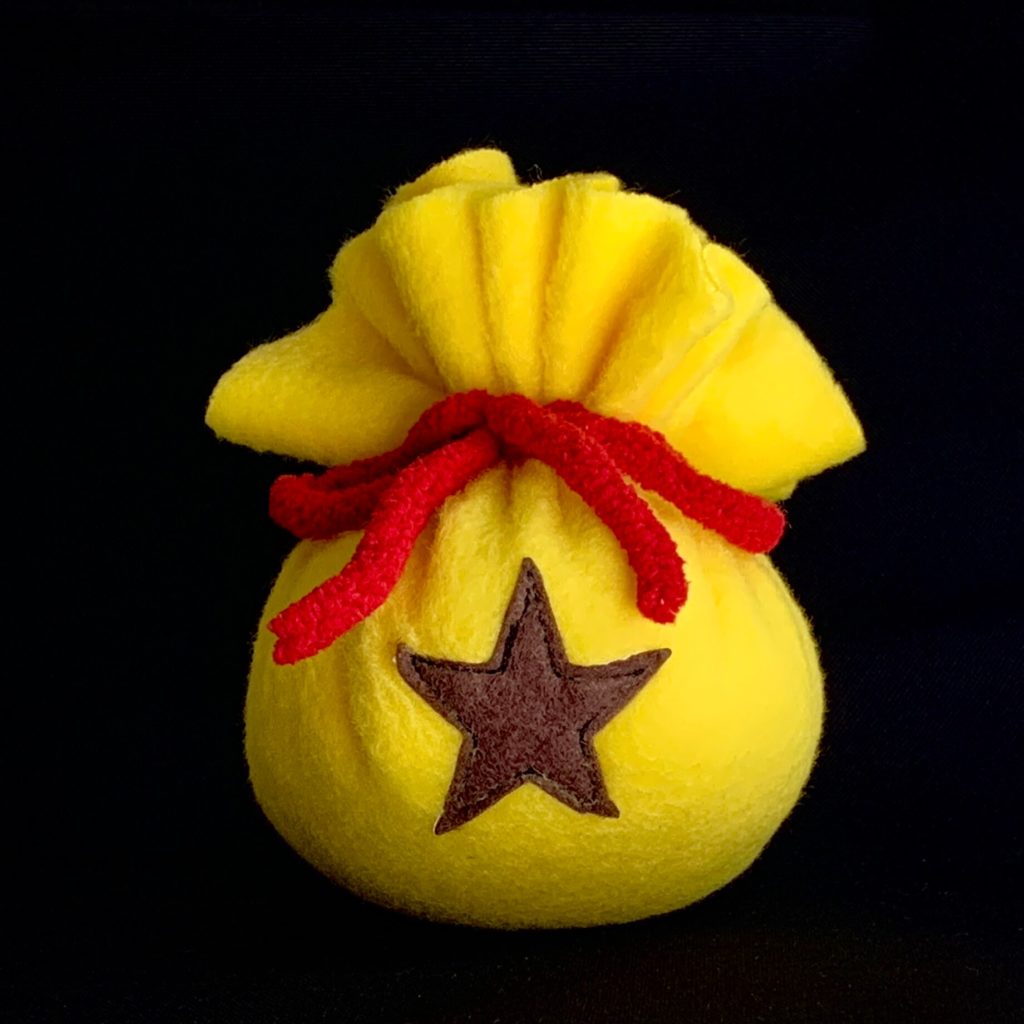
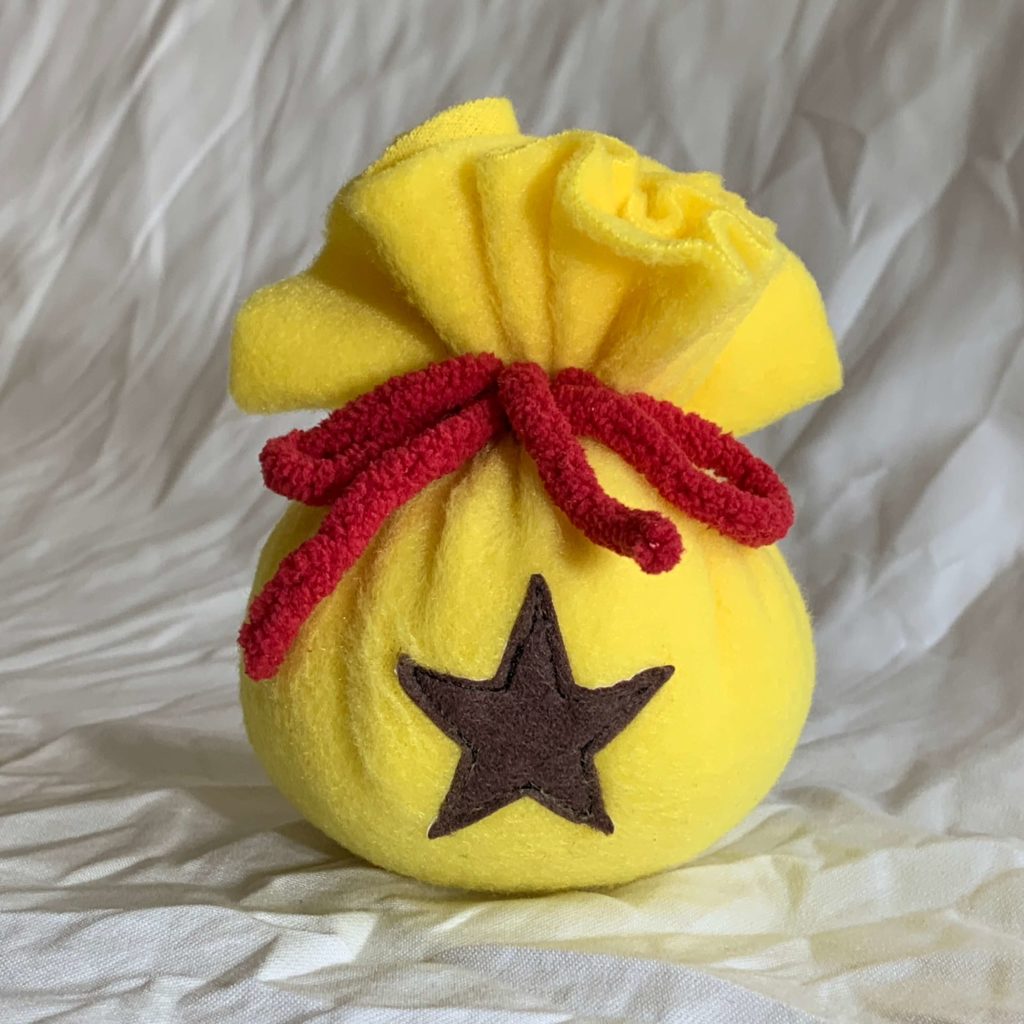
I hope you enjoyed this tutorial! If you would like to purchase this item, I’ve left the link to my Etsy Shop below.

Feeling extra generous? Would you consider supporting me with a coffee?